The Step-by-Step Grout Cleaning Guide

The grout in your tile floors, showers and backsplashes can start looking pretty disgusting if they’re not cleaned out for a while. It may seem like a difficult job to clean this area, but it’s necessary to prevent mold and mildew buildup and to keep your home looking its best. This grout cleaning guide will show you what to do step-by-step to make the results fabulous.
Step 1 – Find the Appropriate Cleaner
The first thing you must do in DIY grout cleaning is buy or make a cleaner for your grout. You can use commercially-prepared grout cleaners, but some of them contain harsh chemicals that will erode the grout with repeated use. Another option is to make your own grout cleaner with equal parts vinegar and water. If you have major stains in your grout, you may want to create a stronger cleaner with two parts baking soda to one part water. This mix will help lift stubborn stains.
Step 2 – Apply it to the Grout
Once you have your grout cleaner, you will spray it into the grout. Let it stand for a few minutes (or overnight for stubborn stains). You’ll need to spray enough to saturate the area without having standing water on the floor or pooling on the floor from the wall.
If you buy a commercial cleaner, follow the manufacturer’s instructions on how to apply. Take the time to read the instructions to ensure the best results.
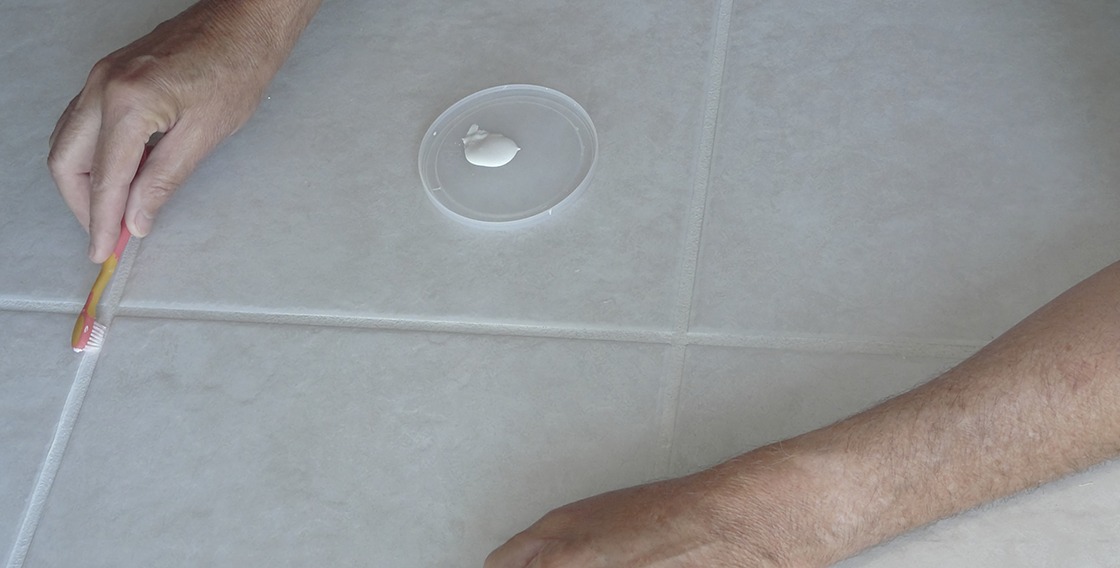
Step 3 – Scrub-a-Dub-Dub
This step is the most time-consuming and there are no shortcuts to it. You will need a soft brush to complete this task by hand. An old toothbrush will work well because it can fit in the small spaces of the grout. An electric toothbrush is even better because it has more scrubbing power. Just make sure you don’t use metal as it can damage the grout or scratch the tile.
You will need to scrub the grout by hand using the brush in a circular motion. Work in a small area and move to the next space. Once you have cleaned all the grout, you will need to rinse the space you’ve cleaned.
Step 4 – Seal the Grout
Let the grout dry for about 24 hours before you complete the next step. If it’s in a damp area, such as a bathroom, you may want to use a fan to help dry it. After it’s dry, apply a grout sealer to help prevent stains in the future.
You will need to re-apply the grout sealer at least every two years and more often in high-traffic areas. As you can see, cleaning grout is a time-consuming and labor-intensive project, but it’s necessary to keep your tile looking good and to extend its life. If this sounds like more work than you want to do, call in a professional tile cleaning company for tile and grout cleaning. They can have your grout cleaned quickly and efficiently so you can get back to loving your home.
If you need your grout cleaned professionally for a reasonable price, contact SteamCo Cleaning and Restoration.